
How to Bottom Water Houseplants (and When Not To)
October 5, 2026
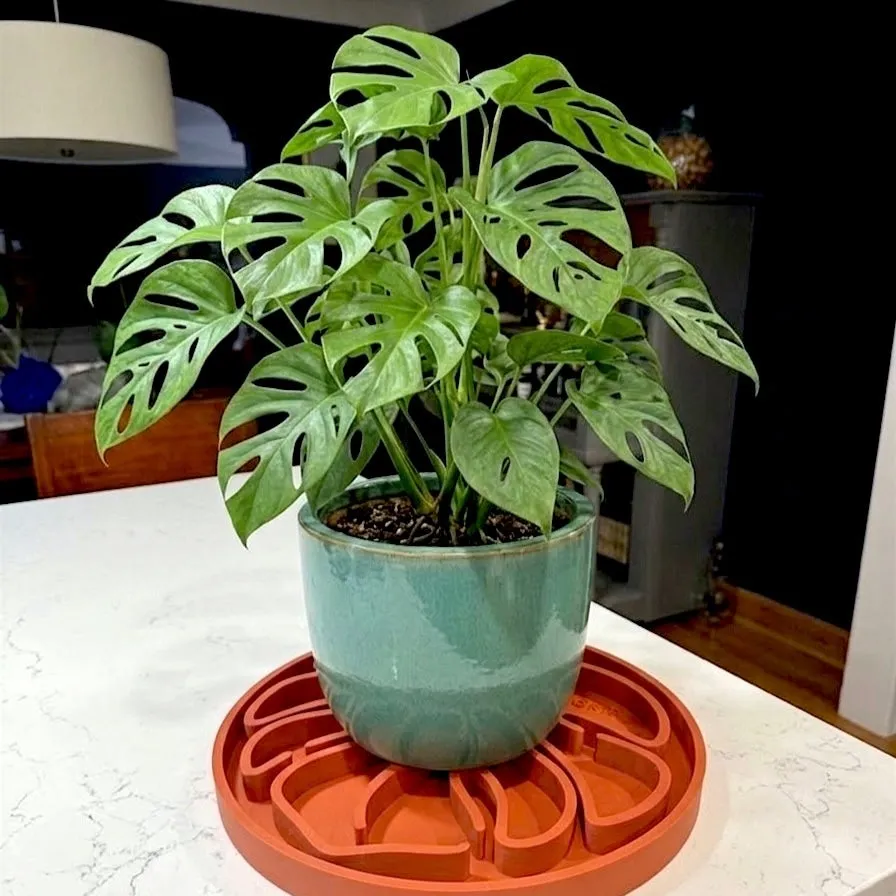
Most of us water from the top: pour until it runs out the bottom, done. Bottom watering flips that around. You set the pot in a few inches of water and let the soil pull moisture up through the drainage hole on its own.
It’s not magic, and it’s not better in every situation. But for a lot of plants — and a lot of plant owners — it solves real problems. Here’s how it works and when to reach for it.
How it actually works
Potting mix wicks water upward the same way a paper towel does when you dip one corner in a glass. Given enough time, moisture climbs from the bottom of the pot all the way to the surface, wetting the root ball evenly as it goes.
That’s the whole trick. And it only works if there’s a way in, which means your pot needs a drainage hole. A cachepot or a sealed decorative planter can’t bottom water at all. If you’re not sure why that hole matters so much, we cover it in why plant drainage matters.
Why people love it
It soaks the whole root ball. When soil gets very dry, it can shrink away from the sides of the pot. Pour water on top and it races down that gap and out the bottom, leaving the center of the root ball nearly as dry as before. Bottom watering gives the mix time to rehydrate from the inside.
The leaves stay dry. Some plants really don’t like wet foliage. African violets are the classic example — University of Illinois Extension recommends watering them from the container’s bottom because water splashed on the leaves will spot and discolor them.
The top of the soil stays drier. Fungus gnats lay their eggs in moist surface soil. Bottom watering tends to leave the top layer a bit drier than pouring from above does, which makes the pot less inviting. It won’t clear an infestation on its own, but it pairs well with the steps in our fungus gnat guide.
It’s hard to rush. Because you’re waiting on the soil rather than pouring, you naturally give the plant a thorough drink instead of a quick splash.
How to do it
- Check that the plant actually needs water. Push a finger into the soil. If the top inch or two is still damp, wait. Bottom watering doesn’t change how often a plant needs water.
- Fill a container with room-temperature water. A sink, a bucket, a deep tray, or a bathtub for a group of plants. Aim for a depth of a few inches — enough to cover the drainage hole and the bottom of the pot comfortably.
- Set the pot in and leave it. Smaller pots often take 10 to 15 minutes. Larger pots or very dry soil can take 20 to 30.
- Check the surface. When the top of the soil feels damp, it’s done. The Illinois Extension guidance for African violets is the same rule: set the pot in water and remove it as soon as moisture appears at the surface.
- Let it drain completely. Lift the pot out and let excess water run off for a few minutes before putting it back in its spot.
That last step is the one people skip — and it’s the one that matters most.
Don’t leave it sitting in water
The goal is to let the soil drink, not to give the roots a bath. A pot left standing in water for hours keeps the bottom of the root ball soggy, and that’s how you end up with root rot and yellowing leaves.
The University of Georgia’s indoor plant guide is direct about it: don’t let plants with drainage holes sit in saucers filled with water unless the pot is held up above the water level, for example on a layer of pebbles.
So once the soak is over, empty whatever’s left in the tray. A drip tray’s job is to catch runoff and protect your furniture, not to hold a standing reservoir under the pot. If you want a little humidity boost, a thin layer of water with pebbles or moss underneath the pot (so it isn’t sitting in the water) is a different setup — we cover it in how to raise humidity for houseplants.
The one catch: salts build up
Here’s the downside nobody mentions. When you water from the top, the water flushing out the drainage hole carries dissolved minerals and leftover fertilizer salts with it. When you water from the bottom, water moves up and evaporates from the surface, and those salts get left behind in the soil.
Over months, that buildup can show up as a white crust on the soil or the rim of the pot, or as brown, crispy leaf edges. It’s the same crust we talk about in does tap water hurt your houseplants.
The fix is simple: every month or so, water from the top instead. Pour slowly until water runs freely out the drainage hole, wait a minute, and do it again. UGA’s guide recommends exactly this — applying large quantities of water to leach accumulated soluble salts out of the soil. If you fertilize regularly, this matters even more; see how to fertilize houseplants for why less is usually more.
When top watering is the better call
Bottom watering is a tool, not a rule. Pour from the top instead when:
- The pot is huge. A floor-size monstera in a heavy pot isn’t going in the sink, and soaking a very large root ball from below can take ages.
- The soil is chunky. Very coarse mixes heavy on bark or perlite don’t wick water up well, so the top can stay dry.
- You’re flushing salts. That’s what the monthly top-watering is for.
- You just want to water. If top watering is working for your plant, there’s no need to switch.
Many people land on a mix: bottom water most of the time, top water every few weeks. That gets you the even soak and dry leaves without the salt problem.
Plants that especially like it
Bottom watering is a good fit for plants with fuzzy or delicate leaves (African violets are the textbook case), plants that tend to rot at the crown if water pools there, small pots that dry out fast and get hydrophobic, and seedlings or fresh cuttings in soft soil that a pour from above would wash away.
Pothos and monstera do fine either way — they’re more interested in good drainage and a chance to dry out between waterings than in which direction the water comes from.
Ready to get started? Shop the pieces below.